


Mastering DIY Pool Water Testing Kits with Pool Water Testing Tools

Keeping your swimming pool clean and safe is a top priority, especially when the sunny days in Cape Town invite you to dive in. One of the best ways to maintain crystal-clear water is by regularly testing it. Today, I want to share everything I’ve learned about using pool water testing tools effectively, so you can master the art of DIY pool water testing kits and enjoy your pool worry-free.
Why You Need Reliable Pool Water Testing Tools
You might wonder, why bother testing pool water at all? Well, pool water is a delicate balance of chemicals. If the pH, chlorine, alkalinity, or calcium hardness levels are off, it can lead to cloudy water, algae growth, or even skin irritation. Using the right pool water testing tools helps you catch these issues early.
There are several types of testing tools available, from simple test strips to more advanced liquid kits and digital testers. Each has its pros and cons, but the goal is the same: to give you accurate readings so you can adjust your pool chemicals accordingly.
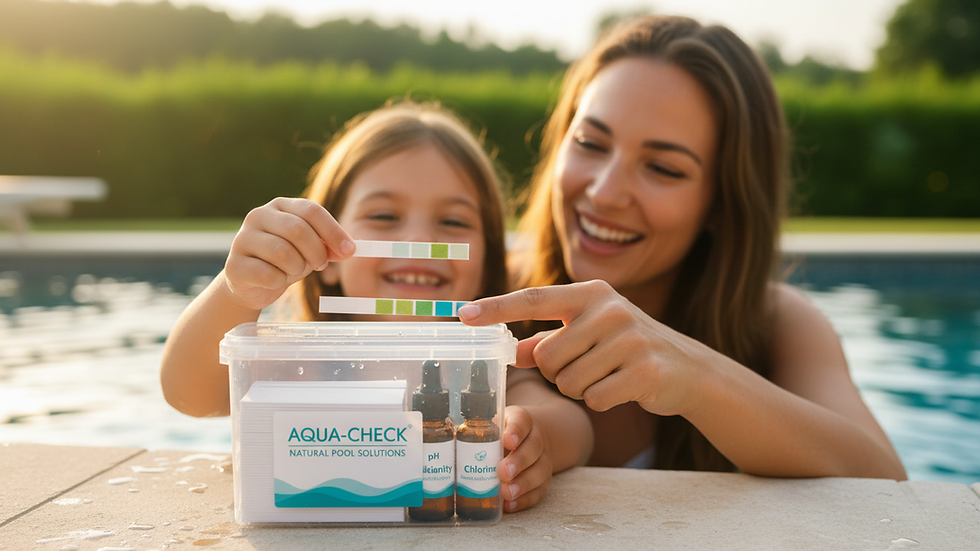
For example, test strips are quick and easy to use. You just dip them in the water and compare the colors to a chart. Liquid kits, on the other hand, involve adding reagents to a water sample and watching for a color change. Digital testers provide precise readings but can be more expensive.
Choosing the right tool depends on your comfort level and how often you want to test your pool. I recommend testing at least twice a week during the swimming season to keep everything balanced.
How to Use Pool Water Testing Tools Correctly
Using pool water testing tools might seem straightforward, but there are some tips to get the most accurate results. First, always collect water samples from about elbow depth, away from the pool’s skimmer or return jets. This ensures you’re testing the water that swimmers actually use.
Next, follow the instructions carefully. For test strips, dip and remove quickly, then hold the strip level and compare colors within the recommended time frame. For liquid kits, add the exact number of drops of each reagent and swirl gently before comparing colors.
Keep your testing tools clean and store them in a cool, dry place. Expired reagents or strips can give false readings, so check expiration dates regularly.
Remember, consistency is key. Test your pool water at the same time of day and under similar conditions to track changes accurately.
Are DIY Water Testing Kits Accurate?
One question I often get is, “Are DIY water testing kits accurate enough?” The short answer is yes, but with some caveats.
DIY kits, including the popular diy pool water testing kits, are designed for home use and can provide reliable results if used properly. They are great for routine checks and catching common issues like low chlorine or unbalanced pH.
However, they might not detect every possible chemical imbalance or contaminant. For example, if you suspect heavy metals or unusual algae, professional testing might be necessary.
The key is to use your DIY kit regularly and treat it as a first line of defense. If you notice persistent problems or unclear results, don’t hesitate to call in a professional for a more detailed analysis.

Tips for Maintaining Perfect Pool Water Balance
Once you have your pool water testing tools and know how to use them, the next step is maintaining the right chemical balance. Here are some practical tips that have worked well for me:
Keep pH between 7.2 and 7.6 - This range is comfortable for swimmers and helps chlorine work effectively.
Maintain chlorine levels between 1 and 3 ppm - Chlorine kills bacteria and keeps your pool safe.
Check alkalinity weekly - Aim for 80-120 ppm to stabilize pH levels.
Monitor calcium hardness - Keep it between 200-400 ppm to prevent scaling or corrosion.
Shock your pool regularly - Especially after heavy use or rain, shocking helps eliminate contaminants.
Clean your pool filters and skimmers - This supports water circulation and clarity.
By following these steps and testing regularly, you’ll avoid common problems like algae blooms or cloudy water.
Why Regular Testing Saves You Money and Time
You might think testing your pool water is just another chore, but it actually saves you money and time in the long run. When you catch chemical imbalances early, you prevent damage to your pool surfaces and equipment.
For instance, low pH can corrode metal parts, while high calcium hardness can cause scaling on tiles and filters. Both issues lead to costly repairs.
Regular testing also means you use chemicals more efficiently. Instead of guessing how much chlorine or acid to add, you adjust based on actual readings. This reduces waste and keeps your pool environment healthier.
Plus, a well-maintained pool means fewer headaches and more enjoyment. Imagine inviting friends over for a swim without worrying about green water or skin irritation!
Making the Most of Your DIY Pool Water Testing Kits
To wrap things up, mastering your pool’s health with DIY testing kits is all about consistency, accuracy, and knowing when to seek help. Here’s a quick checklist to keep in mind:
Test your pool water at least twice a week.
Use fresh, unexpired testing supplies.
Follow instructions carefully for each test.
Record your results to track trends.
Adjust chemicals based on test results.
Call a professional if you notice persistent issues.
By taking control of your pool’s water quality, you’re not just protecting your investment—you’re creating a safe, inviting space for family and friends to enjoy all year round.
Happy swimming and testing!


Comments