


Mastering Pool Water Testing with DIY Pool Water Testing Kits

Keeping your pool water clean and safe is essential for enjoying a refreshing swim anytime. But how do you ensure your pool water stays balanced and free from harmful bacteria? The answer lies in regular water testing. Today, I want to share how you can master pool water testing using simple, effective DIY pool water testing kits. These kits empower you to take control of your pool’s health without needing to call in a professional every time.
Why DIY Pool Water Testing is a Game-Changer
Testing your pool water regularly is not just about clarity or appearance. It’s about safety, comfort, and protecting your investment. When pool water chemistry is off, it can cause skin irritation, damage pool equipment, and even promote algae growth. That’s why I always recommend having a reliable testing method at hand.
DIY pool water testing kits are designed for homeowners who want to keep their pools in top shape without hassle. They are affordable, easy to use, and provide quick results. Plus, you don’t have to wait for a technician or send samples to a lab. You can test your water anytime, right at home.
Here’s what makes these kits so handy:
Convenience: Test your water whenever you want.
Cost-effective: Save money on professional testing.
Immediate feedback: Know your pool’s condition in minutes.
User-friendly: No special skills required.

How to Use DIY Pool Water Testing Kits Effectively
Getting accurate results from your DIY pool water testing kit is easier than you might think. Let me walk you through the basic steps to make sure you get the most out of your kit.
Collect a water sample
Use a clean container or the vial provided in the kit. Take the sample from about elbow depth, away from the pool’s skimmer or return jets. This ensures you get a representative sample of the pool water.
Follow the instructions carefully
Each kit may have slightly different steps. Some use test strips, others use liquid reagents. Read the instructions thoroughly before starting.
Dip the test strip or add reagents
For test strips, dip them into the water sample and remove immediately. For liquid kits, add the specified number of drops to the water sample.
Wait the recommended time
Allow the strip or sample to react for the time indicated in the instructions. This usually ranges from 15 seconds to a few minutes.
Compare the colours
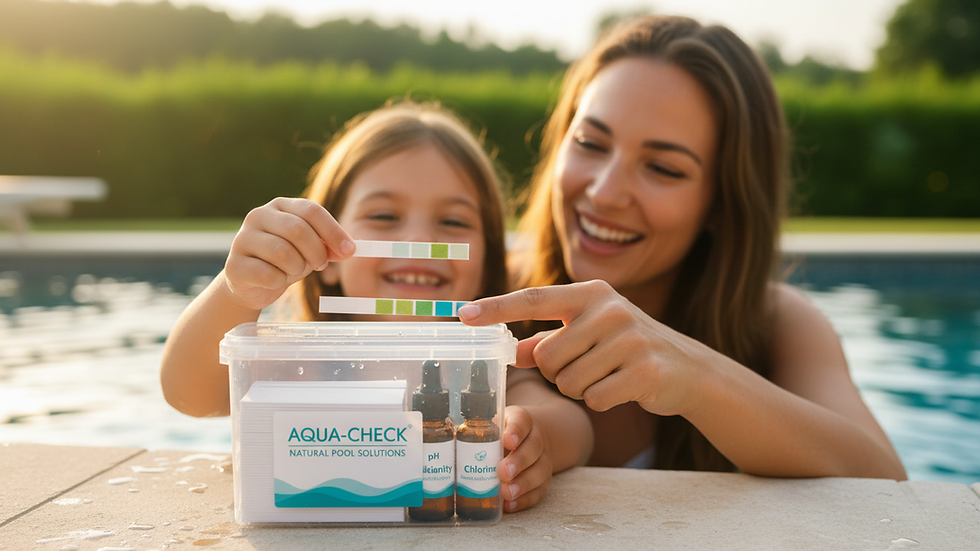
Match the colours on the strip or sample to the colour chart provided. This will tell you the levels of chlorine, pH, alkalinity, and sometimes other factors like cyanuric acid or calcium hardness.
Record your results
Keep a log of your readings. This helps you track changes over time and adjust your pool care routine accordingly.
By following these steps, you can confidently monitor your pool’s water chemistry and make informed decisions about treatment.
Are DIY Water Testing Kits Accurate?
You might be wondering, “Can I really trust these kits to give me accurate results?” It’s a fair question. The truth is, the accuracy of DIY pool water testing kits depends on the type of kit you use and how carefully you follow the instructions.
Most kits available today are quite reliable for routine testing. They provide a good indication of key water parameters like chlorine and pH, which are critical for pool health. However, they might not be as precise as professional lab tests, especially for more complex measurements.
Here are some tips to improve accuracy:
Use fresh test strips or reagents: Expired kits can give false readings.
Avoid contamination: Use clean containers and avoid touching test areas.
Test regularly: Frequent testing helps spot trends and errors.
Cross-check results: If unsure, test again or use a different kit.
For everyday pool maintenance, DIY kits are more than sufficient. They help you catch problems early and keep your pool water balanced and safe.

What Parameters Should You Test?
Knowing what to test is just as important as how to test. Here are the key water parameters you should monitor regularly:
Chlorine: The primary sanitizer that kills bacteria and algae. Ideal levels are usually between 1 and 3 ppm.
pH: Measures how acidic or alkaline the water is. The ideal range is 7.2 to 7.8. Too low or too high can cause irritation and damage.
Total Alkalinity: Helps stabilize pH levels. Aim for 80 to 120 ppm.
Calcium Hardness: Prevents water from becoming corrosive or scaling. The recommended range is 200 to 400 ppm.
Cyanuric Acid (Stabilizer): Protects chlorine from sunlight degradation. Ideal levels are 30 to 50 ppm.
By keeping these parameters in check, you ensure your pool water is safe, comfortable, and long-lasting.
Tips for Maintaining Balanced Pool Water
Testing is just the first step. Once you know your water’s condition, you need to take action to keep it balanced. Here are some practical tips I’ve found helpful:
Adjust pH with chemicals: Use pH increasers or decreasers as needed.
Shock your pool regularly: This means adding a large dose of chlorine to kill stubborn contaminants.
Clean your pool filters: Dirty filters reduce water circulation and affect chemical balance.
Maintain proper water levels: Too low or too high water can affect chemical distribution.
Use stabilizers in sunny climates: Cape Town’s sunny weather means chlorine can break down quickly without stabilizers.
Remember, consistency is key. Testing and adjusting your pool water weekly or biweekly keeps problems at bay.
Making the Most of Your Pool Experience
Mastering pool water testing with DIY kits gives you confidence and control over your pool’s health. It’s a simple habit that pays off with crystal-clear water and worry-free swims. Plus, it helps protect your pool investment by preventing damage caused by unbalanced water.
If you’re ready to take charge, consider investing in a quality diy pool water testing kits to get started. With the right tools and a little practice, you’ll become a pool water expert in no time.
Enjoy your pool to the fullest, knowing your water is safe, clean, and perfectly balanced!
Happy swimming and testing!


Comments