
Using DIY Pool Water Quality Testing Kits Effectively
- All About Pools

- Apr 27
- 4 min read
Keeping your swimming pool clean and safe is a top priority, especially when the warm Cape Town sun invites you to take a refreshing dip every day. One of the best ways to maintain a healthy pool is by regularly testing the water quality. But how do you do that without spending a fortune or relying on professional services every time? That’s where DIY pool water quality testing kits come in handy. They offer a simple, affordable, and effective way to monitor your pool’s condition right from home.
Let’s dive into how you can use these kits effectively to keep your pool sparkling and safe all year round.
Why Regular Pool Water Quality Testing Kits Matter
You might wonder, “Why test my pool water so often?” Well, pool water is a delicate balance of chemicals. If the levels of chlorine, pH, alkalinity, or calcium hardness are off, it can lead to problems like cloudy water, algae growth, or even skin irritation.
Using pool water quality testing kits regularly helps you:
Prevent algae and bacteria growth by maintaining proper chlorine levels.
Avoid damage to pool surfaces and equipment caused by imbalanced water chemistry.
Ensure swimmer comfort by keeping pH levels in the ideal range.
Save money by catching issues early before they become costly repairs.
Testing your pool water once or twice a week during the swimming season is a good rule of thumb. It’s quick, easy, and gives you peace of mind.

How to Choose the Right Pool Water Quality Testing Kits
Not all testing kits are created equal. When selecting a pool water quality testing kit, consider these factors:
Type of Test Kit
There are mainly two types: test strips and liquid reagent kits.
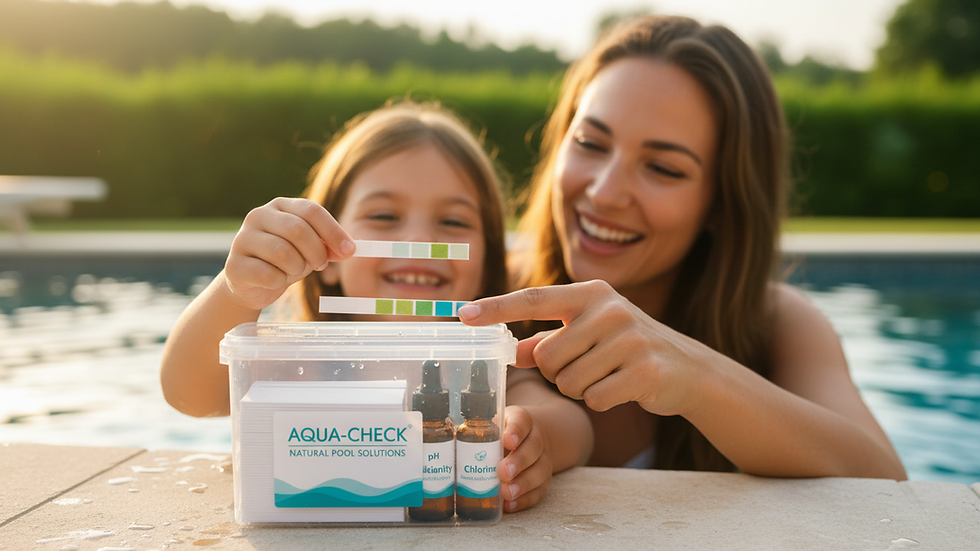
Test strips are quick and easy to use. You dip the strip in water and compare the colours to a chart.
Liquid reagent kits are more accurate but require a bit more effort. You add drops of chemicals to a water sample and observe the colour change.
Parameters Tested
Look for kits that test the essential parameters:
Chlorine (free and total)
pH level
Total alkalinity
Calcium hardness
Cyanuric acid (stabiliser)
Ease of Use
Choose a kit with clear instructions and easy-to-read results. This will make your testing routine less of a chore.
Accuracy and Reliability
While DIY kits are convenient, some are more precise than others. Reading reviews and asking for recommendations can help you pick a trustworthy kit.
Cost and Availability
Since you’ll be testing regularly, pick a kit that fits your budget and is easy to replenish locally.
By investing in a good quality pool water quality testing kit, you’re setting yourself up for success in pool maintenance.
Step-by-Step Guide to Using Your Pool Water Quality Testing Kit
Now that you have your kit, let’s walk through the testing process. Follow these steps to get accurate results every time:
1. Collect a Water Sample
Use a clean container or the sample vial provided in your kit. Take the water from about elbow depth (around 30-45 cm below the surface) to avoid surface contaminants.
2. Test for Chlorine and pH
If you’re using test strips, dip the strip into the water for the recommended time (usually a few seconds). Remove it and wait for the colours to develop. Compare the colours to the chart immediately.
For liquid kits, add the specified number of drops of reagent to the water sample and observe the colour change.
3. Test for Alkalinity and Calcium Hardness
Repeat the process with the appropriate reagents or strips for these parameters. These levels help stabilise your pool water and protect surfaces.
4. Record Your Results
Keep a log of your readings. This helps you track trends and spot problems early.
5. Adjust Chemicals as Needed
Based on your results, add the necessary chemicals to balance your pool water. For example:
If chlorine is low, add chlorine tablets or liquid chlorine.
If pH is high, add muriatic acid or pH reducer.
If alkalinity is low, add baking soda.
6. Retest After Adjustments
Wait a few hours or as recommended, then test again to ensure your adjustments worked.
By following these steps, you’ll maintain a healthy pool environment that’s safe and enjoyable.

Tips for Getting the Most Out of Your DIY Pool Testing Routine
Testing your pool water is simple, but a few extra tips can make your routine even more effective:
Test at the same time of day for consistent results. Morning is often best before swimmers enter the pool.
Store your testing kit properly in a cool, dry place to keep reagents fresh.
Replace test strips or reagents regularly to avoid inaccurate readings.
Use fresh water samples each time you test; don’t reuse old samples.
Wear gloves when handling chemicals to protect your skin.
Keep a maintenance schedule for adding chemicals and cleaning your pool.
Consult local water quality guidelines to understand the ideal ranges for your area.
Remember, the goal is to catch small imbalances before they become big problems. Consistency is key.
Why DIY Pool Water Testing Kits Are Perfect for Cape Town Pools
Living in Cape Town means dealing with unique weather patterns and water conditions. Our pools face intense sun, occasional heavy rains, and sometimes hard water. This makes regular testing even more important.
Using diy pool water testing kits allows you to:
Quickly respond to changes caused by weather or usage.
Avoid algae blooms that thrive in warm, sunny climates.
Protect your pool investment by preventing corrosion or scaling.
Enjoy peace of mind knowing your pool is safe for family and friends.
Plus, these kits are affordable and easy to find locally, making them a practical choice for busy homeowners.
Keeping Your Pool Beautiful and Functional Year-Round
Maintaining your pool’s water quality is just one part of keeping it beautiful and functional. Pair your testing routine with regular cleaning, equipment checks, and professional servicing when needed. This holistic approach ensures your pool remains a stunning backyard oasis.
If you ever feel unsure about your pool’s condition or need expert advice, don’t hesitate to reach out to local pool professionals. They can help with renovations, landscaping, and advanced water treatment solutions tailored to Cape Town’s environment.
By taking control of your pool’s water quality with DIY testing kits and combining it with good maintenance habits, you’re investing in years of enjoyment and relaxation.
Ready to take the plunge into easy pool care? Start testing your pool water regularly with the right tools and watch your pool stay crystal clear and inviting all year long. Your future self will thank you!


Comments